Quick Start
Publish your first automated test run into Jira in about five minutes. By the end, you should see a real run with status, framework metadata, branch or CI context, and failure evidence inside your Jira project.
If you are still evaluating the product path rather than the exact setup flow, start with Jira test reporting or CI/CD test results in Jira.
These steps work for every supported framework. Use the reporter guide for your stack when you need framework-specific configuration.
Before You Start
You need:
- Testream for Jira installed in your Jira workspace.
- A codebase with automated tests.
- Permission to create a Testream project or access an existing project API key.
1. Create or Select a Testream Project
- Sign up at testream.app
- Open Dashboard → Projects

- Create a project or open an existing one.
- Copy the API key.
Keep this key secret. It is shown once, and you can generate a new key later if needed.
2. Choose Your Reporter
Open the reporter table, choose the guide for your stack, and add the minimal configuration. If your tool already produces CTRF or another report format, use the CLI Reporter.
3. Set TESTREAM_API_KEY
Set your Testream API key locally for the first proof, or store it in your CI secret manager.
Locally - add to a .env file in your project root, but do not commit it:
TESTREAM_API_KEY=your_api_key_here
In CI (GitHub Actions) - add TESTREAM_API_KEY as a repository secret (Settings → Secrets → Actions → New repository secret), then reference it in your workflow:
env:
  TESTREAM_API_KEY: ${{ secrets.TESTREAM_API_KEY }}
4. Run Your Tests
Run the same test command your team already uses. The reporter uploads results to Testream when TESTREAM_API_KEY is present.
Examples:
npx playwright test
npm test
dotnet test
5. Confirm the Run in Jira
Open your Jira project where Testream is installed and check Test Runs.
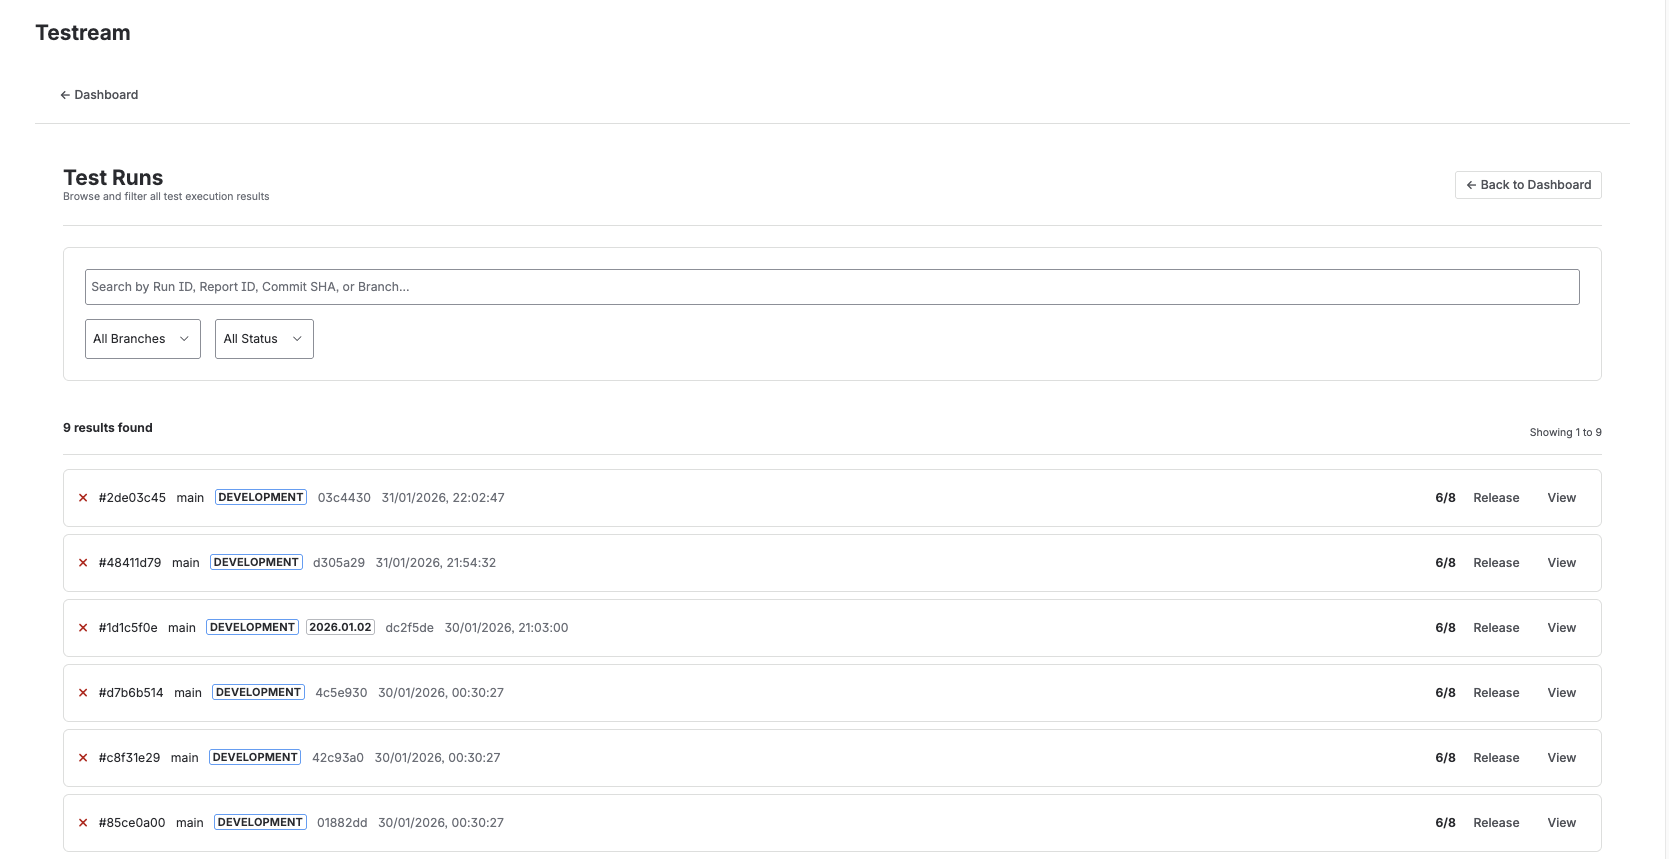
A successful first proof should show:
- Run status and pass rate
- Failed tests, if any
- Framework and run metadata
- Branch, commit, or CI context when provided
- Artifacts such as screenshots, traces, videos, or logs when your reporter uploads them
If no run appears, check that TESTREAM_API_KEY is available to the test process and that the reporter is configured for your framework.
Optional Paths
Let Rovo guide setup
If you want help choosing the right reporter or shaping your CI workflow, open Testream → Settings → Get Started with Rovo in Jira. The Testream Setup Agent can recommend a reporter, sample project, CI snippet, and first-run checklist.
Add BDD Specs after runs are flowing
After your first test runs are flowing into Testream, you can add Testream BDD Specs to Jira issues. Rovo can draft or improve Gherkin scenarios and assess them against the test evidence Testream captures from CI.
Build reusable BDD workflows after the first run
If your team wants reusable behavior coverage beyond one Jira issue, the next step is usually:
- Create behaviors in BDD Library
- Reuse them across issues
- Build Test Cycles for manual execution
- Review Release Visibility for release readiness
For the broader product overview first, see BDD Jira integration.
What's Next?
- Reporter installation - choose the setup guide for your stack
- Jira Integration - surface test results directly in Jira
- BDD Library - manage reusable behaviors for Jira work and releases
- Test Cycles - execute manual coverage from reusable behaviors
- Test Run Summaries in Jira Issues - see issue-level run context
- CI/CD test results in Jira - understand the higher-level product path
- Jira release test management - see how release readiness stays tied to automated evidence